web服务配置
安装http服务
yum install httpd -y
yum install php -y
启动
systemctl start httpd
创建用户(要与nfs服务端的用户uid保持一致)
groupadd -g 666 www useradd -u 666 -g 666 www
修改httpd配置文件
vim /etc/httpd/conf/httpd.conf,然后搜索User,修改User与Group为www用户
或
sed -i '/^User/c User www' /etc/httpd/conf/httpd.conf sed -i '/^Group/c Group www' /etc/httpd/conf/httpd.conf
修改权限
chown -R www.www /var/www/html/
重启
上传代码
rz kaoshi.zip
unzip kaoshi.zip -d /var/www/html/
重启
将端口挂载到nfs的data目录下
mount -t nfs 172.16.1.32:/data /var/www/html/2025-03-18/
rsync服务配置
安装
yum install rsync -y
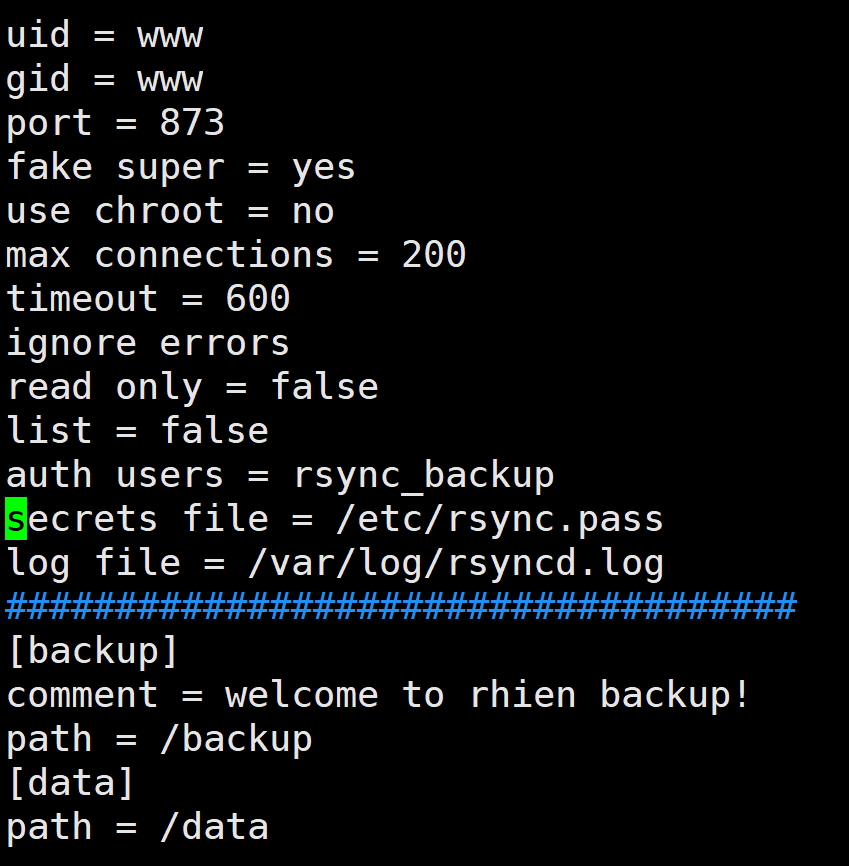
修改配置文件
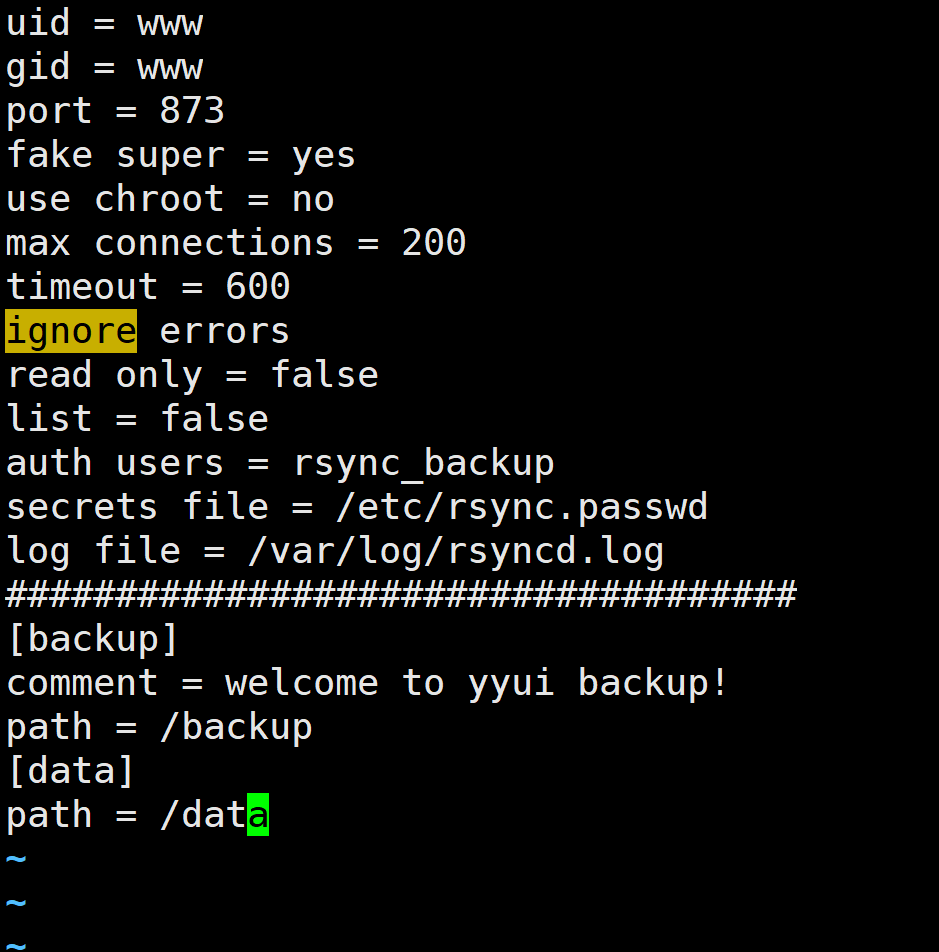
根据配置文件的修改添加用户
groupadd -g 666 www useradd -u 666 -g 666 www
根据配置文件的修改创建目录
mkdir /data /backup -p chown -R www.www /data /backup
重启
测试推送到模块
安装nfs-utils
yum install nfs-utils -y
同步nfs的exports配置文件
rsync -avz root@172.16.1.32:/etc/exports /etc/exports
cat /etc/exports

启动+开机启动
systemctl restart nfs-server
systemctl enable nfs-server
sersync服务
安装sersync
yum install rsync inotify-tools -y
wget https://raw.githubusercontent.com/wsgzao/se rsync/master/sersync2.5.4_64bit_binary_stab le_final.tar.gz
tar -xf sersync2.5.4_64bit_binary_stable_final.tar.gz mv GNU-Linux-x86/ /usr/local/sersync
配置rsync服务
配置sersync的配置文件
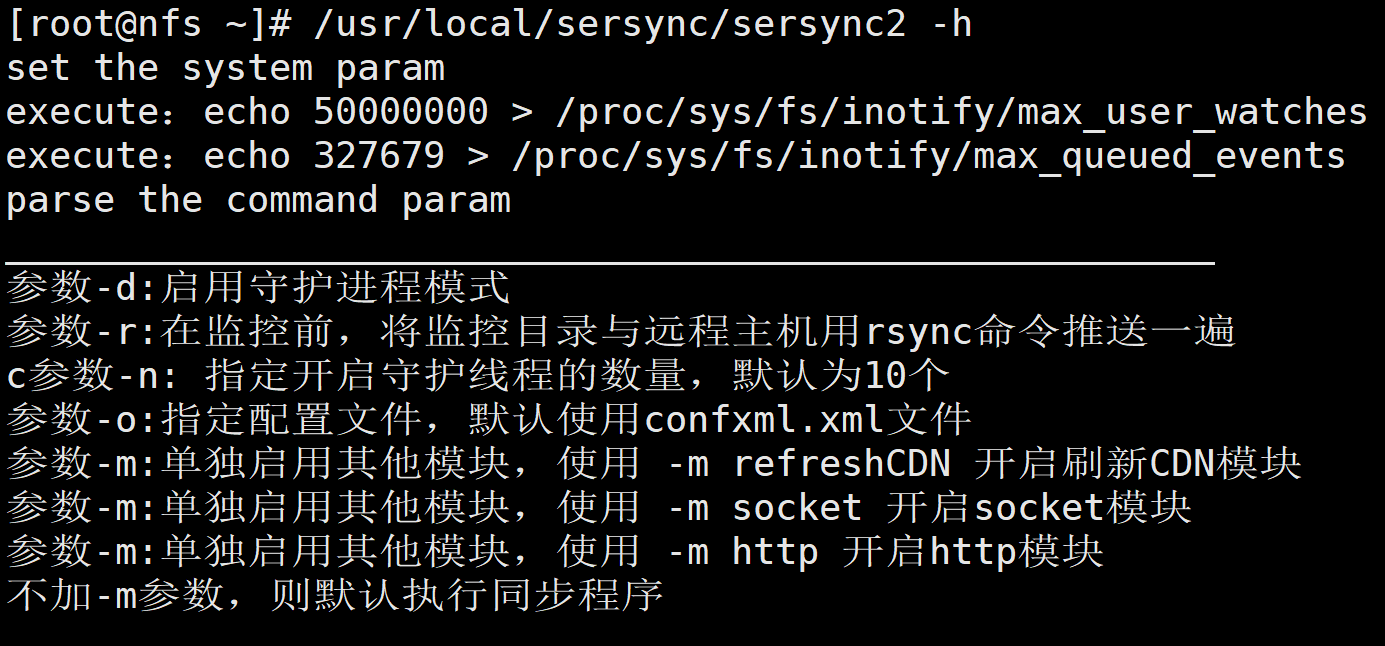
vim /usr/local/sersync/conf
具体配置:
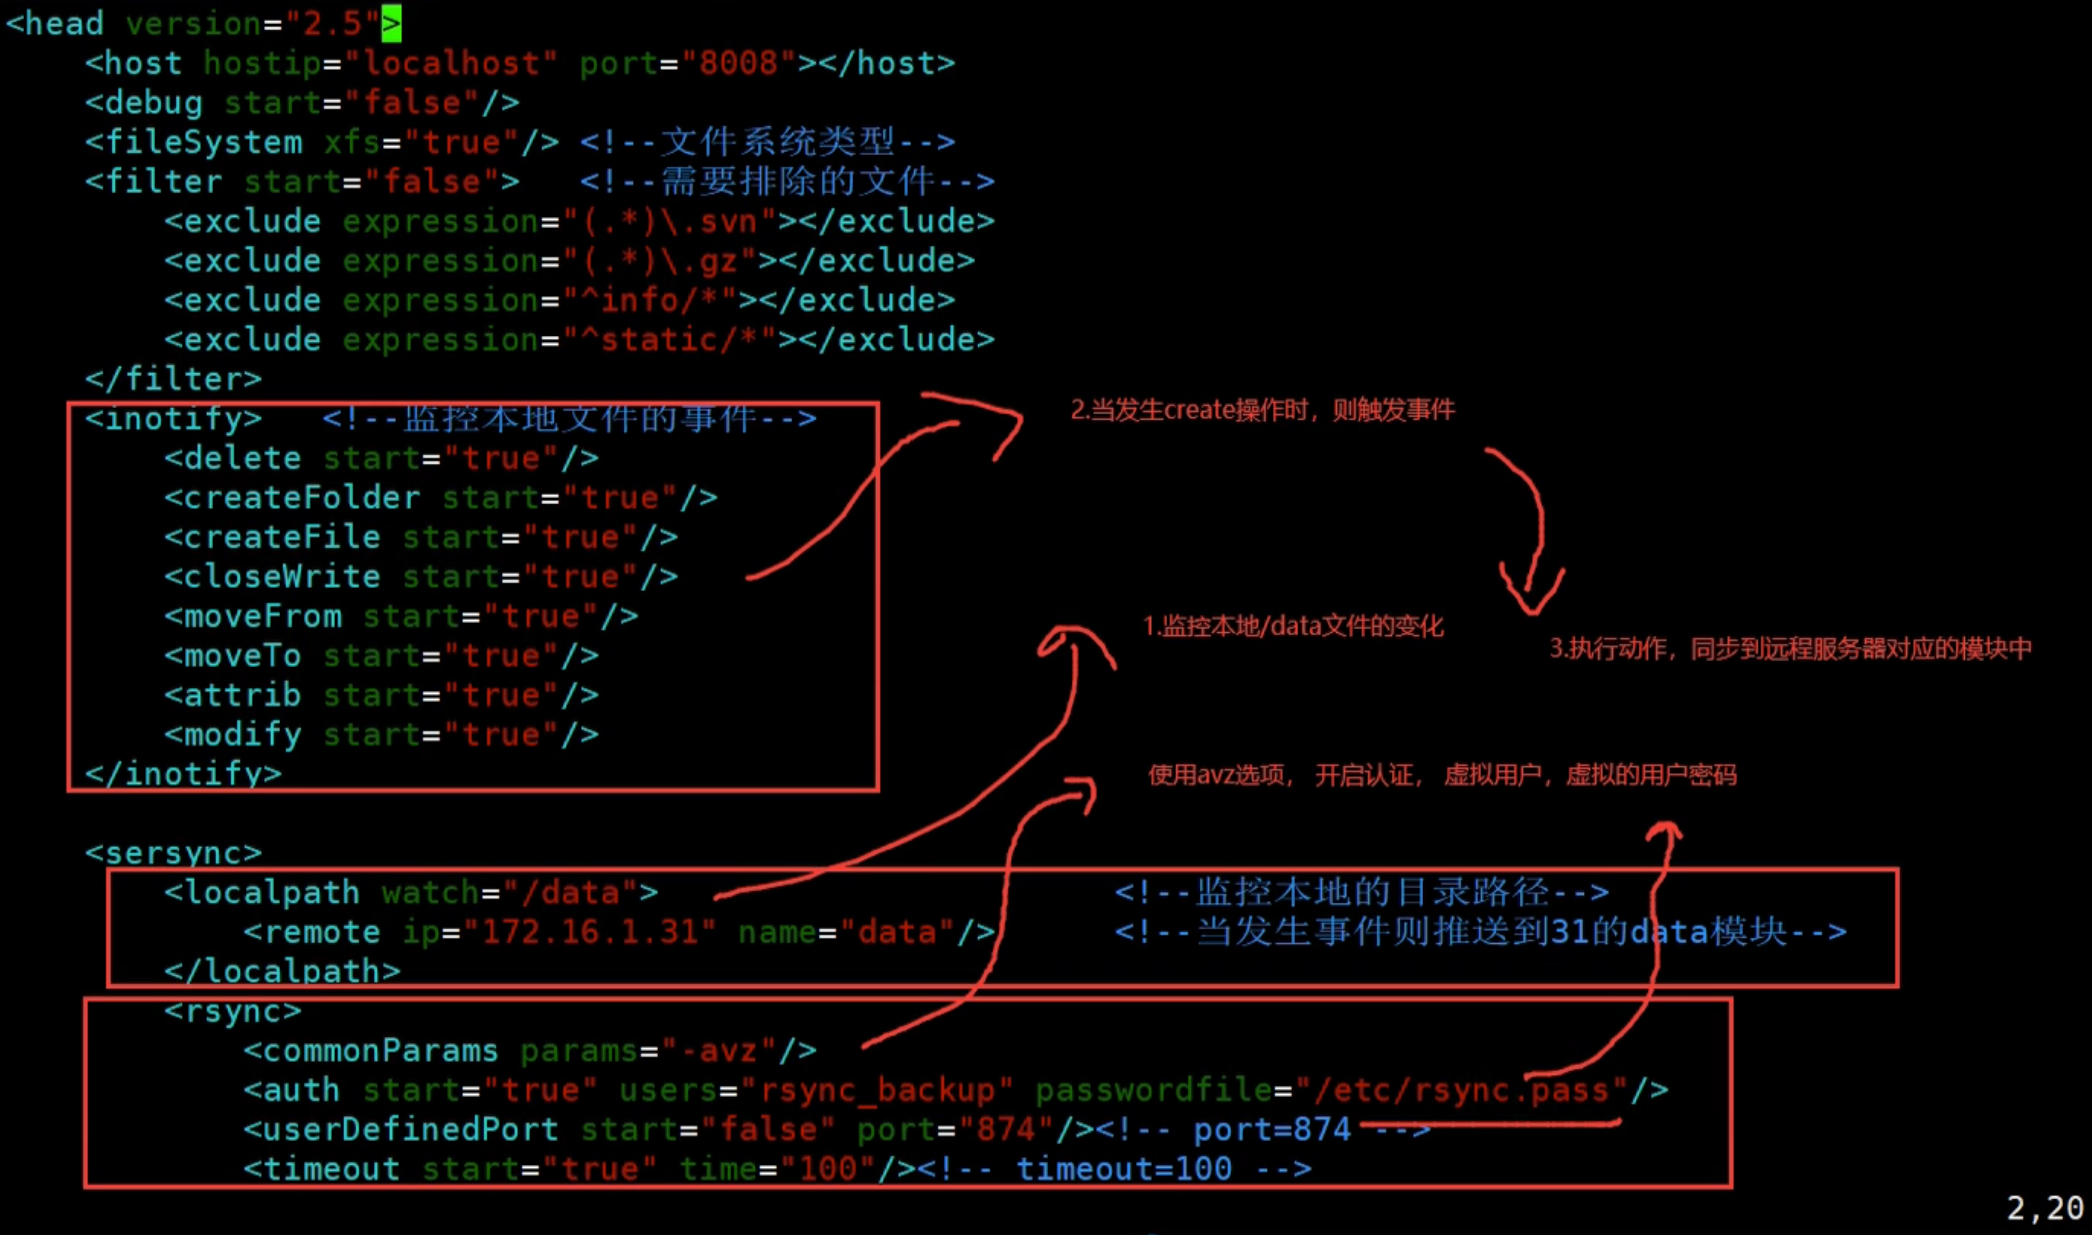
<?xml version="1.0" encoding="ISO-8859-1"?>
<head version="2.5">
<host hostip="localhost" port="8008"></host> <debug start="false"/> <fileSystem xfs="true"/> <!--本地系统类型--> <filter start="false"> <!--需要排除的文件--> <exclude expression="(.*)\.svn"></exclude> <exclude expression="(.*)\.gz"></exclude> <exclude expression="^info/*"></exclude> <exclude expression="^static/*"></exclude> </filter> <inotify> <!--监控本地文件发生的事件--> <delete start="true"/> <createFolder start="true"/> <createFile start="true"/> <closeWrite start="true"/> <moveFrom start="true"/> <moveTo start="true"/> <attrib start="true"/> <modify start="true"/> </inotify> <sersync> <localpath watch="/data"> <!--监控本地的目录路径--> <remote ip="172.16.1.31" name="data"/> <!--当目录发生事件时则推送到目标主机下的data模块--> </localpath> <rsync> <commonParams params="-avz"/> <!--推送命令--> <auth start="true" users="rsync_backup" passwordfile="/etc/rsync.pass"/> <!--开启推送 配置rsync备份用户 填写rsync密码文件路径--> <userDefinedPort start="false" port="874"/><!-- port=874 --> <timeout start="true" time="100"/><!-- timeout=100 --> <ssh start="false"/> </rsync>
配置文件详解:
启动服务
/usr/local/sersync/sersync2 -dro /usr/local/sersync/confxml.xml
关闭服务
kill $( ps aux | grep sersync | grep -v grep | awk '{print $2}')
lsync服务(替换sersync)
安装lsync
yum install rsync inotify-tools lsyncd -y
修改lsync配置文件
vim /etc/lsyncd.conf
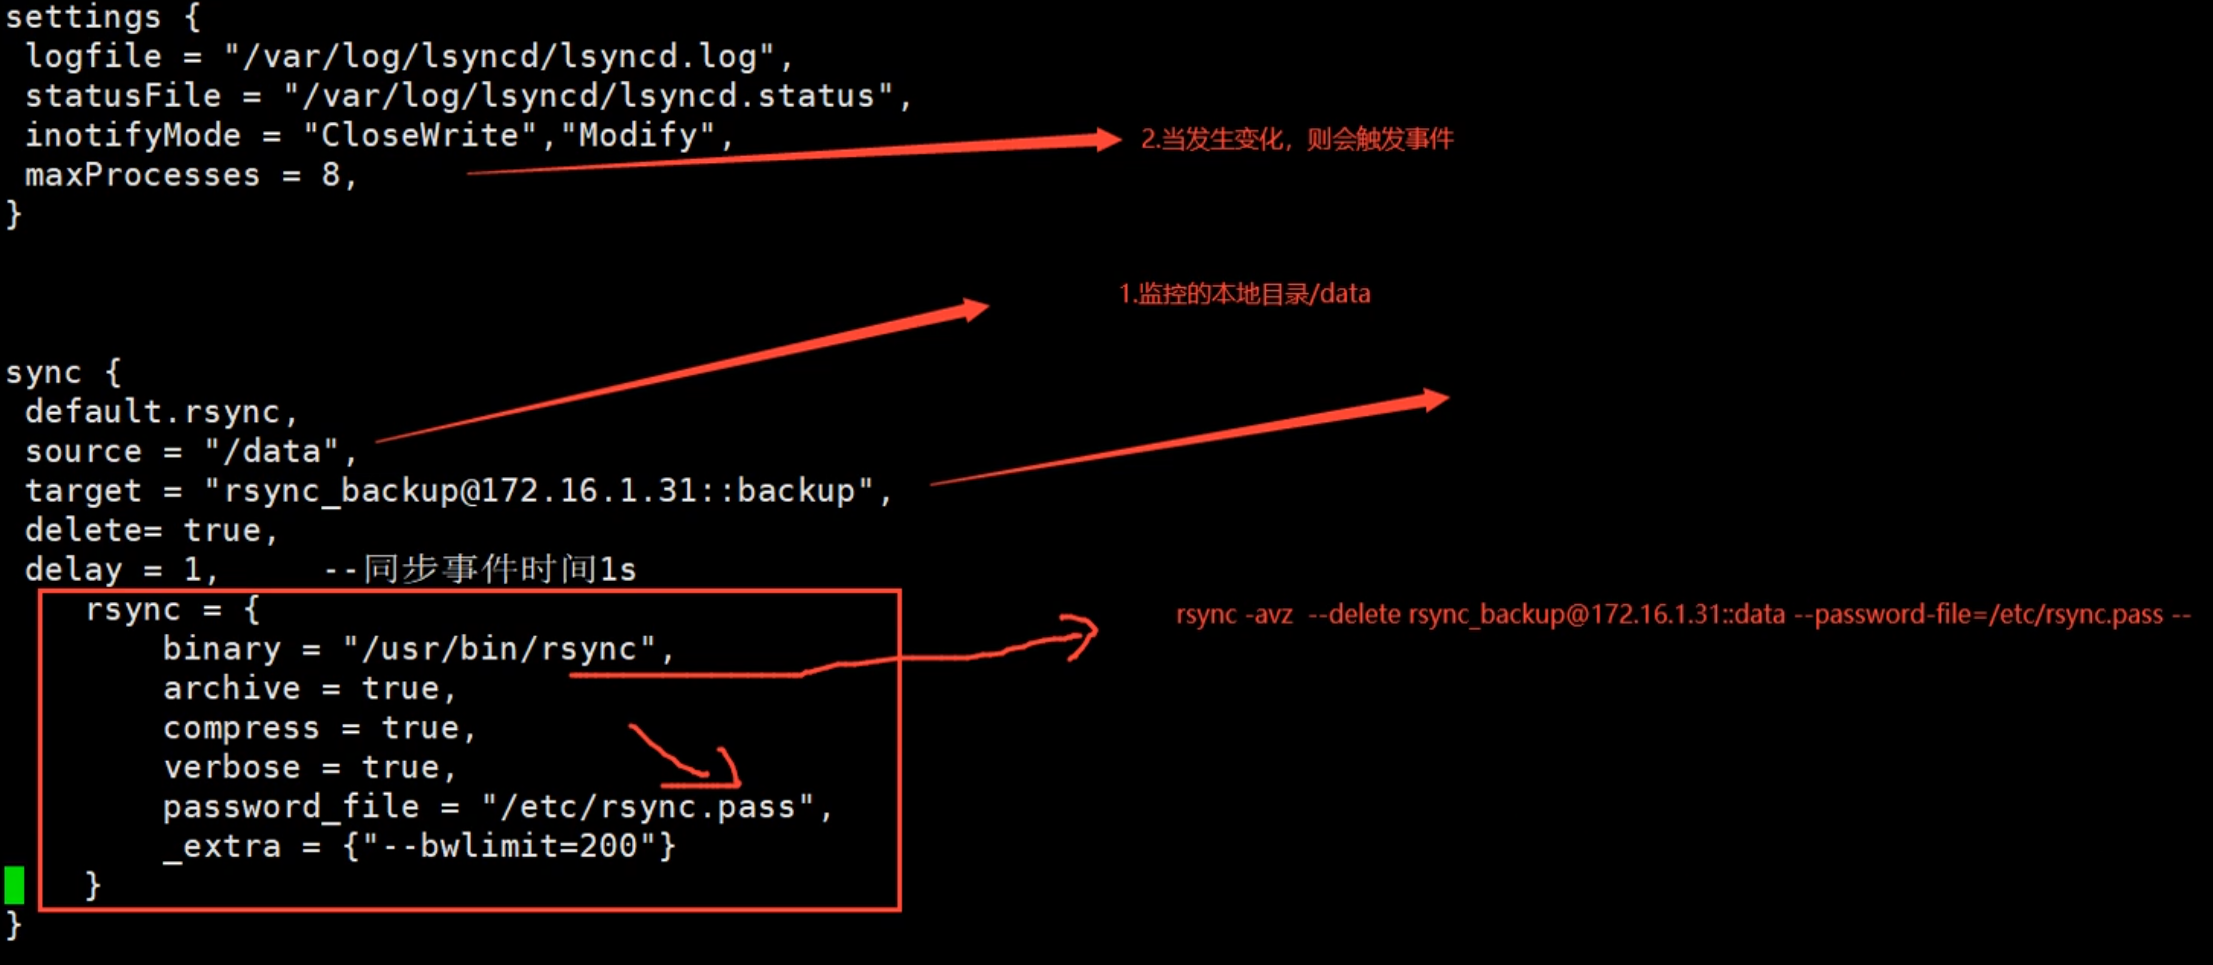
settings { logfile = "/var/log/lsyncd/lsyncd.log", --日志文件位置 statusFile = "/var/log/lsyncd/lsyncd.status", --状态文件位置 inotifyMode = "CloseWrite", maxProcesses = 8, --最大进程数 }
sync { default.rsync, source = "/data", --监控的目录 target = "rsync_backup@172.16.1.31::data", --推送的目标主机和对应的模块 delete= true, --无差异推送 delay = 1, --同步事件时间1s rsync = { binary = "/usr/bin/rsync", archive = true, compress = true, verbose = true, password_file = "/etc/rsync.pass", --密码文件的位置 _extra = {"--bwlimit=200"} --限速200m } }
配置文件详解